Like a steady heartbeat beneath a tool’s roar, PSI signals the pressure inside our stationary air compressor. We’ll explain what those numbers mean, how they guide tool compatibility, and why the regulator matters. You’ll see how to read the gauge quickly, pick the right pressure for each task, and avoid common pitfalls. Stay with us as we outline practical steps that keep performance reliable and safe, with simple checks you can perform next.
Key Takeaways
- PSI stands for pounds per square inch, a unit measuring air pressure in the compressor system.
- It indicates the force exerted by compressed air inside the tank or lines.
- PSI helps set regulator output to match tool requirements and avoid overpressure.
- Reading PSI shows operating range, cuts in/out, and safe working pressure.
- Accurate PSI requires correct gauge readings, regulator settings, and leak-free connections.
Read the PSI Gauge: Interpret Numbers at a Glance
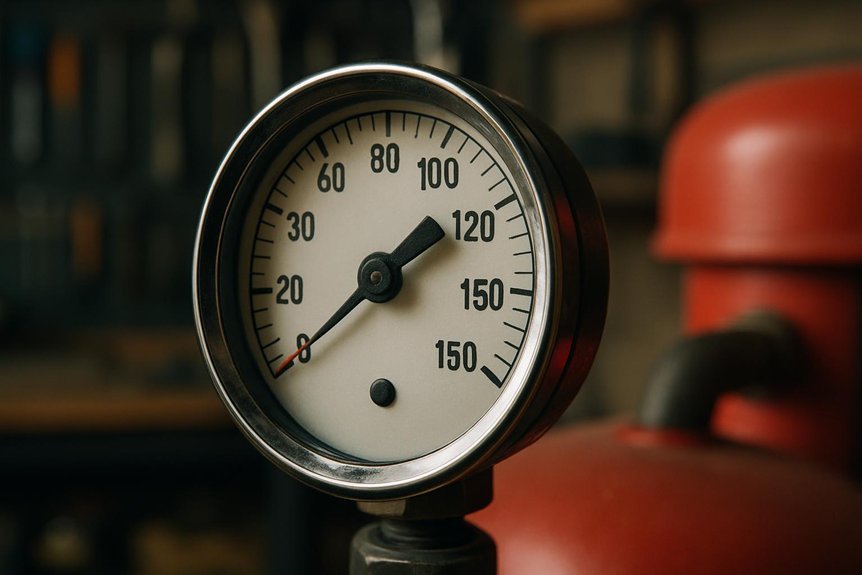
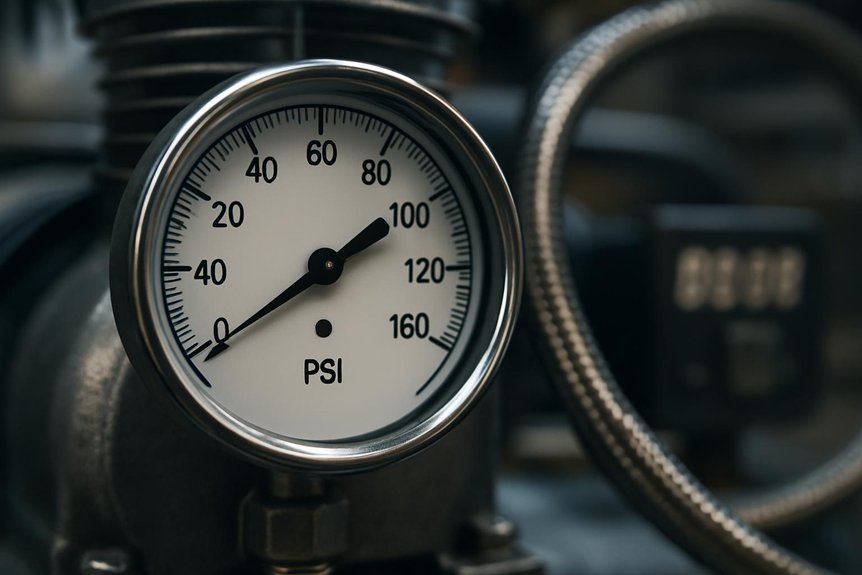
To read the PSI gauge quickly, look at the numbers and the units they use. We focus on the display itself: the digits show pressure, while the unit indicates psi or bar, clarifying scale. Read from left to right, noting the decimal if present, and compare against the gauge’s nominal range. We assess gauge reliability by checking for steady readings and minimal flutter when the system is at rest. We confirm tool compatibility by ensuring the connector type matches the system’s fittings and the pressure rating suits the tool’s needs. If a reading seems off, we verify with a known reference tool and inspect the gauge for damage or leaks. Clear, consistent readings support accurate operation and safety.
PSI Ranges by Task: Select the Right Pressure for Each Tool
We’ll outline tool-specific pressure guidelines and safe PSI ranges for common tasks. By matching the right pressure to each tool, we reduce wear, improve performance, and protect operator safety. Let’s explore how to choose the correct PSI for each job and why staying within recommended ranges matters.
Tool-Specific Pressure Guidelines
So, how do you pick the right pressure for each tool? We approach tool-specific guidelines with a clear plan, matching PSI to task while avoiding overshoot. We maintain a steady maintenance mindset and rely on calibration basics to verify settings before use. By following recommended ranges, we prevent tool damage and improve performance. We also monitor motor load and duty cycle to avoid overheating, ensuring consistent results across workloads.
- Match tool type to PSI band recommended by the manufacturer
- Prioritize on-tool regulators and gauge accuracy
- Check for performance indicators like speed, finish, and tool chatter
- Calibrate regularly and document any deviations
- Maintain system pressure consistency during multi-tool sessions
Safe PSI Ranges Per Task
How do we determine safe PSI ranges for each task? We start with the tool’s manufacturer guidelines and our compressor’s regulator setting, then verify the actual discharge pressure at the accessory. For each tool, we match the minimum required pressure and the maximum rated pressure to avoid under- or over-pressurizing. Portable maintenance requires that we document exact PSI targets for each application and adjust if a tool’s performance changes. We also account for hose length, fittings, and tool volume, which can alter effective pressure at the nozzle. Noise considerations matter because higher pressures often increase motor load and sound output. By standardizing task-specific ranges, we improve efficiency, reduce wear, and maintain safer operation across our compressed-air system.
Set Cut-In and Cut-Out Pressures for Reliable Operation
We’ll outline clear Setpoint Range Guidelines to help you maintain stable, reliable pressure. By establishing consistent cut-in and cut-out targets, we support dependable performance and reduced cycling. Let’s discuss practical ranges and how to apply them for effective pressure management.
Setpoint Range Guidelines
Setpoint range guidelines define the reliable operating window for your compressor by specifying the cut-in and cut-out pressures. We establish clear targets to maintain steady airflow and minimize wear, using consistent measurements across units. Our approach emphasizes accuracy, repeatability, and predictable performance, so operators can rely on the system without surprises.
- Define cut-in and cut-out values that reflect actual usage patterns
- Align setpoints with system demand to prevent short cycling
- Implement setpoint calibration to verify accuracy over time
- Maintain safety thresholds to protect components and personnel
- Document changes and monitor trends to sustain reliability
Reliable Pressure Management
Reliable pressure management hinges on precisely set cut-in and cut-out pressures to ensure steady airflow and minimize wear. We choose these pressures to balance demand with compressor cycling, reducing sudden starts and stops. Set-in should occur above the lowest rated system pressure, while cut-out must prevent overloading the motor and downstream equipment. We document target values and verify them through reliability testing, confirming the controller maintains the intended range under typical loads. Regular checks catch drift from valve seats or sensor calibration, preserving performance and extending component life. We also integrate safety training for operators, emphasizing pressure limits, leak detection, and routine verification procedures. Clear procedures, adherence to specifications, and timely calibration keep the system predictable and safe while supporting consistent output.
Safe Pressure Decisions: When to Raise or Lower PSI and Avoid Common Pitfalls
Is there a safer way to dial in pressure? Yes, and we practice deliberate, data-driven adjustments. We’ll focus on when to raise or lower PSI to maintain performance without risking equipment or products. Our approach emphasizes precise regulation and pressure safety, avoiding guesswork and over-pressurization. We balance tool requirements, duty cycle, and leak context to set target values that tolerate minor fluctuations. We adjust gradually, verify afterEach change, and document outcomes for future reference. By sticking to tested ranges and monitoring feedback, we minimize waste and downtime. Consistency matters, so we prioritize repeatable results over rocky peaks. We avoid common pitfalls like chasing maximum pressure or bypassing gauges, and we confirm compatibility with attachments and finishes.
- Start with manufacturer’s recommendations
- Use the lowest effective PSI
- Measure impact before increasing
- Check gauges regularly
- Document every change
Troubleshooting PSI: Check Leaks, Test Gauges, and Verify Performance
We start by checking for leaks, then test gauges, and finally verify performance to confirm PSI accuracy. We approach PSI troubleshooting with a structured method: identify possible leaks, confirm gauge reliability, and assess output consistency under load. For leaks, inspect fittings, hoses, and seals, using soapy water to spot bubbles and listening for hissing. For gauges, cross-compare readings across multiple meters and ensure regulators are set correctly. Finally, test performance by running the compressor at operating pressure and verifying stable delivery and duty cycle. If discrepancies arise, consult discussion ideas1 and discussion ideas2 to guide root-cause analysis and remedies. Our goal is objective validation: confirm that indicated PSI matches real pressure and that the system maintains it under load.
Post-Setup Checks: Leaks, Gauge Accuracy, and Tool Compatibility
Post-setup checks are essential to ensure safe, consistent operation right after installation. We systematically verify leaks, gauge accuracy, and tool compatibility to prevent issues during use. Our approach emphasizes reliability, repeatability, and clear documentation so you stay informed and prepared.
- Inspect for air leaks at fittings, hoses, and hoses connections
- Calibrate gauges against a known reference and record results
- Confirm outlet ports match tool fittings and PSI requirements
- Check safety devices, drains, and shutoffs for proper function
- Align with safety training and maintenance scheduling best practices
These steps minimize surprises, support accurate PSI readings, and protect personnel. By embedding these checks in routine maintenance, we improve performance and extend equipment life.
Frequently Asked Questions
How Does Ambient Temperature Affect PSI Readings?
Ambient temperature affects psi readings because air density changes with temp, causing pressure drift. We’ve observed higher ambient temps often raise readings slightly, while cooler conditions lower them, so monitor ambient temp to minimize pressure drift.
Can PSI Affect Tool Warranty or Performance?
Why would PSI affect warranty or performance? We answer yes, to some extent. We’re addressing PSI misconceptions and gauge accuracy, noting incorrect readings can mislead users about tool performance and warranty eligibility, impacting maintenance decisions and safety.
What Is Ideal PSI for Pneumatic Staplers vs. Impact Wrenches?
Ideal psi varies: pneumatic staplers typically run around 60–100 psi, while impact wrenches usually need 90–120 psi. We discuss performance, reliability. Two word discussion ideas, Subtopic unrelated, guide our approach as we present clear, precise data.
Do Gauge Brands Differ in Accuracy or Reliability?
Gauges differ in accuracy; some brands consistently perform better. We’re careful with gauge calibration and compare brands to ensure reliability, because accuracy matters. Like a precise compass, we guide you toward correct readings and safer use.
How Often Should I Recalibrate or Replace Gauges?
We recommend regular calibration frequency checks every 6–12 months and monitor for drift; if gauges routinely deviate, gauge replacement is warranted. We’ll document results and adjust maintenance schedules to maintain accurate pressure readings for you.
Conclusion
We’ll keep a close eye on pressure, because a simple gauge note can reveal a bigger truth about our system. When the numbers align with the tool’s needs, operation feels seamless—and a small leak or drift won’t surprise us. We rely on accurate readings, careful setup, and regular checks, and we’ll notice the coincidence of a steady cycle, a calm compressor, and a ready tool. Together, we stay safe, efficient, and ready for the next task.

