Here’s something interesting: a simple checklist can prevent costly downtime by catching small faults before they become big ones. We’ll walk through practical, methodical steps for inspecting air compressors—covering heads, valves, oil carryover, belts, cooling, intake, and electrical safety—so you can act with confidence. If we spot a pattern or a red flag, we’ll flag it for action and plan a precise fix, keeping your system dependable and compliant.
Key Takeaways
- Inspect mechanical condition, belts, pulleys, mounting, and vibration to detect wear, misalignment, or looseness.
- Check electrical integrity, grounding, motor terminations, switchgear, and safety devices for proper shutoff behavior.
- Examine intake, filtration, moisture control, and cooling to prevent overheating and ensure clean airflow.
- Identify air leaks, hose wear, fittings integrity, and regulator performance with calibrated pressure checks.
- Maintain thorough documentation linking observations, actions, and outcomes for traceability and scheduling.
What a Practical Air Compressor Inspection Covers
A practical air compressor inspection covers the components, seals, and gauges that keep your system safe and reliable. We walk through each element with clear purpose, noting how wear or improper fit could lead to leaks or pressure loss. We inspect the compressor head, valves, and crankcase for signs of moisture, oil carryover, or unusual wear, then verify belt tension and pulley alignment. We check ventilation, cooling fins, and intake filters to prevent overheating. We document electrical connections, switchgear, and safety devices to ensure proper shutoff behavior. We also consider wearable sensors and noise profiling as part of performance monitoring, recording data to trend over time. Our method is deliberate: confirm specs, confirm settings, confirm cleanliness, and confirm compliance with maintenance intervals.
Daily Safety Checks You Can Do in Minutes
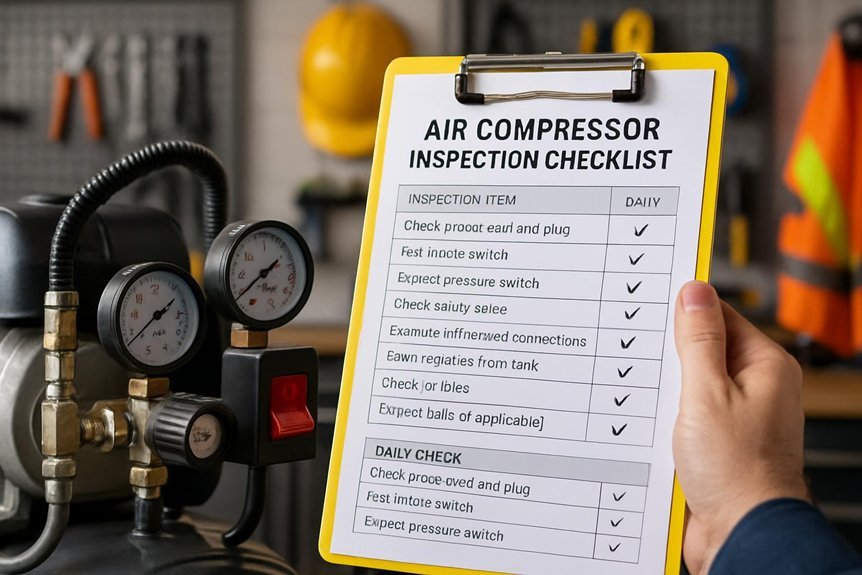
We start from our inspection mindset and put it into a brief, daily routine: we quickly verify the basics that keep the system safe today. We approach this with discipline, checking critical items in order. First, we glance at the overall condition and listen for unusual noises that signal trouble. Next, we confirm guards, alarms, and emergency stops are intact and accessible. Then we inspect air compressor bearings for warmth, smooth rotation, and any wobble, addressing issues before they worsen. We also verify oil viscosity is within spec, ensuring proper lubrication and cooling. We note any oil leaks or drips and resolve promptly. Finally, we confirm hoses and connections are secure, and vibration is within normal limits. These concise checks build reliability and reduce risk without delaying operation.
Verifying Air Pressure and Regulator Performance
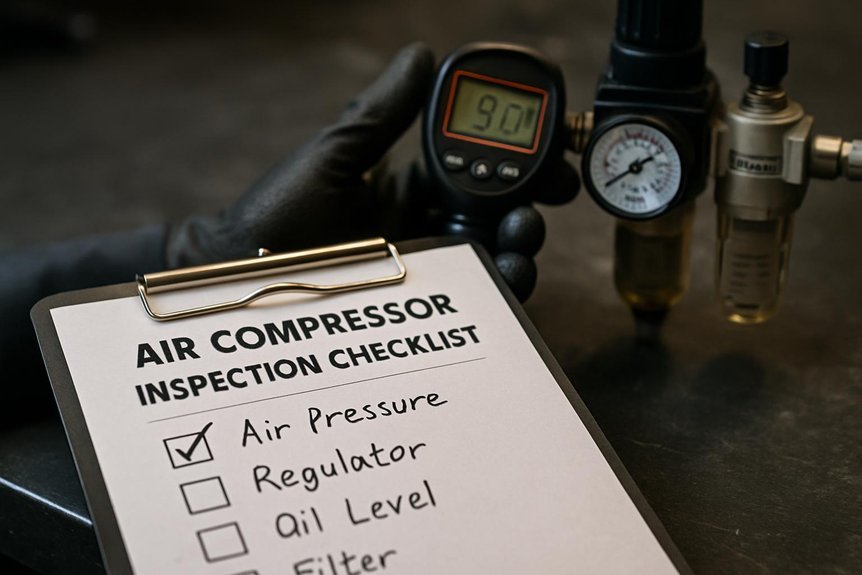
How do we confirm that your air pressure and regulator performance meet system requirements? We measure setpoints at full load and note any drop from the unloaded to loaded range. We verify the main supply pressure matches nameplate values and that the regulator maintains stable output under changing demand. We record actual output with a calibrated gauge, then compare it to the rated pressure band. If the regulator drifts beyond tolerance, we perform regulator calibration per the manufacturer’s procedure and recheck. We assess response time by increasing and decreasing demand and observing stabilization duration. We document pressure regulation consistency across cycles and ensure relief devices function within safe limits. Accurate records support predictable tool performance and safer operation.
Inspecting for Air Leaks and Hose Wear
We start by inspecting for air leaks and assessing hose wear, focusing on obvious signs like hissing sounds, damp spots, and swollen or cracked hoses. We’ll check fittings, couplings, and manifolds for tightness and integrity, and we’ll monitor for any change in system pressure that suggests a leak. If we detect issues, we’ll mark their locations and plan targeted repairs or replacements to restore safe, efficient operation.
Detecting Air Leaks
Detecting air leaks and hose wear starts with a systematic check of all connections, fittings, and hoses for signs of wear, corrosion, or cracking; if a leak is suspected, we’ll listen for a hissing sound and verify with soapy water or a leak-detecting spray. We then depressurize the system safely, noting gauge behavior and pressure drops over a fixed interval. Inspect seals, quick-connects, and relief valves for looseness or damage, tightening or replacing as needed. We document all findings and compare to baseline readings to distinguish normal fluctuations from real leaks. When testing, we prioritize accessible paths first, then move to concealed lines with appropriate tools. Our goal is precise identification of air leaks and effective application of leak detection techniques to minimize loss.
Hose Wear Indicators
Hose wear indicators matter because damaged or degraded hoses can fail unexpectedly and compromise system performance. We’ll focus on identifying wear signs early to prevent leaks, bursts, and pressure drops. First, we inspect for external damage: cracks, abrasions, bulges, and softened spots along the entire length, especially near connections. Next, we evaluate hose flexibility; stiffness or kinks signal hidden deterioration. We verify fittings are secure and collars seated to prevent leaks at joints. We check for oil contamination, which can degrade hose material and shorten life. Document findings with clear notes on hose wear and recommended actions. Establish inspection intervals based on usage, environment, and manufacturer guidance, adjusting as needed after incidents. Promptly replace compromised hoses to maintain safe, efficient operation.
Checking Oil, Lubrication, and Cooling as Needed
Are the oil, lubrication, and cooling systems in your air compressor functioning correctly, or could hidden wear threaten performance? We begin by checking oil levels and consistency, ensuring you’re within the recommended range and using the correct grade. Next, we inspect lubrication delivery paths for blockages or leaks, confirming bearings and gears receive steady, unobstructed oil flow. Listen for unusual noises that indicate insufficient lubrication or excess friction. For the cooling system, verify coolant levels if applicable, inspect fins or radiators for debris, and ensure fans operate smoothly without wobble. Clean or replace filters as needed to maintain heat transfer. Report any signs of oil contamination, cooling inefficiency, or abnormal temperature rises, and address promptly to sustain efficiency and longevity.
Inspecting Belts, Pulleys, and Mounting Stability
We’ll start with a quick belt tension check, ensuring the belt has the right sag without excessive slack. Next, we’ll review pulley alignment to prevent wear and noise, correcting any misalignment. Finally, we’ll scan mounting stability to confirm bolts and mounts are secure and free of vibration.
Belt Tension Check
To ensure reliable operation, we start by verifying belt tension, alignment, and mounting stability and note any wear or damage before running the compressor. We focus on belt tension first, ensuring it’s firm but not overtight, using a standard deflection measure per manufacturer guidance. We check the highest point of the belt for even tension across the span, watching for sag in the center and play in the system. Next, we inspect pulleys for smooth rotation and groove wear, confirming no sharp edges or misalignment that could accelerate belt wear. We test mounting stability, guarding against vibration-induced loosening. Any signs of belt tension change or pulley wear warrant immediate corrective action and documentation, then a controlled test run to verify stable operation.
Pulley Alignment Review
Pulley alignment is critical to extend belt life and maintain smooth operation, so we methodically verify that pulleys run true and at the proper angle. We begin by checking visually for parallel planes and measuring center-to-center distances after any motor or driver changes. Then we rotate the system briefly to detect any wobble or runout, documenting deviations. We assess belt tracking using a straightedge or alignment tool, ensuring grooves sit square in the pulley face. If misalignment appears, we adjust mounting bolts and shims to restore true alignment. We monitor belt wear patterns, noting edge fraying or glazing that signals misalignment or excessive load. Finally, we recheck tension, verify sheave seating, and log findings to prevent pulley misalignment from reoccurring and to minimize belt wear.
Mounting Stability Scan
Mounting stability is assessed by systematically verifying that belts, pulleys, and mounting hardware remain secure and true under operating conditions. We approach this with a practical, methodical check, focusing on signs of movement, wear, or looseness that could affect performance. Our goal is accurate vibration analysis that guides safe operation and reduces downtime. We document findings and tighten components as needed, prioritizing correct torque and alignment to prevent belt slip or pulley feverish movement.
- Inspect belts for cracks, glazing, and proper tension; replace worn segments promptly.
- Check pulleys and mounting hardware for runout, wobble, and secure fasteners; retorque as specified.
- Perform a baseline vibration analysis to identify abnormal frequencies and confirm mounting stability.
This routine sustains reliable, quiet operation and maximum service life.
Evaluating Electrical Connections and Safety Grounding
When inspecting electrical connections and safety grounding on an air compressor, we start by verifying that all power leads are intact, properly insulated, and securely fastened. We inspect terminations at the motor and switch for signs of looseness, corrosion, or discoloration, then tighten or replace as needed. Next, we confirm that proper strain relief is in place to prevent cable movement. We evaluate electrical grounding, ensuring a solid connection to the chassis and a continuous path to earth. We verify circuit protection devices are correctly sized and labeled, with no bypasses or tripped indicators present. We test ground-fault protection where applicable and document results. Finally, we check for gasketed enclosures and clear labeling to support safe maintenance and quick fault isolation. Electrical grounding and circuit protection guide our careful, repeatable checks.
Assessing the Intake, Filtration, and Moisture Control
To assess the intake, filtration, and moisture control, we start by inspecting the air intake path for obstructions and damage, ensuring unobstructed airflow to the compressor. We then evaluate intake filtration and moisture control components to confirm proper operation and barrier integrity.
- Inspect air filters for dirt, damage, and proper seating, replacing clogged filters promptly.
- Check moisture control devices and condensate drains, ensuring they purge moisture without leaks.
- Verify intake piping is free of cracks, corrosion, and loose fittings, maintaining airtight connections.
We document findings, plan replacements, and verify performance after service. Prioritize clean air supply, preventing contamination and corrosion downstream, and maintain consistent pressure. If issues arise, address them before reuse, or schedule preventive action to sustain efficiency and reliability.
Documentation, Scheduling, and Red-Flag Indicators
We maintain thorough Documentation Traceability, schedule Regular Audits, and track Red-Flag Indicators to keep our program accountable. We’ll outline how records move, who reviews them, and when we trigger corrective actions. This discussion starts with clear, practical steps you can implement today.
Documentation Traceability
Documentation traceability keeps our inspection data reliable and actionable. We maintain clear links between observations, actions, and outcomes, so anyone can follow the history at a glance. Our approach emphasizes consistent recordkeeping best practices, verifiable timestamps, and versioned reports. We also ensure traceability across components, operators, and maintenance events, so trends are easy to spot and audits straightforward.
- Establish standardized data entries with consistent terminology and timestamps.
- Use version-controlled documents and secure storage to preserve history.
- Link findings to corresponding actions, parts, and responsible personnel for accountability.
Scheduling Regular Audits
How often should we audit our air compressor program to stay ahead of faults and downtime? We schedule regular audits on a fixed cadence, aligning with maintenance cycles and production calendars. Our approach is practical: define objectives, assign owners, and document findings promptly. We review performance data, maintenance logs, and calibration records to verify compliance and identify trends. Scheduling decisions emphasize minimal production impact, using off-peak windows when possible. We track corrective actions, verify closure, and reassess interval appropriateness after each audit cycle. We address short cycling proactively by confirming control schemes and pressure settings align with demand, reducing wear. Noise reduction remains a measurable outcome of persistent verification, component condition checks, and proper isolation. By formalizing cadence, we sustain reliability and clear documentation for continuous improvement.
Red-Flag Indicators List
Red-flag indicators help us detect early faults before they cause downtime, so we keep a tight handle on Documentation, Scheduling, and key warning signs. We present a concise Red-Flag Indicators List to guide maintenance scheduling and prompt action. By identifying these signals, we prevent minor issues from escalating into costly repairs, and we keep production on track with minimal disruption.
- Unusual noises, vibration, or pressure fluctuations that persist after routine checks
- Consistently high amperage, temperature spikes, or oil contamination indicating wear or lubrication failures
- Short cycling, delayed start-up, or frequent shutdowns suggesting valve or safety-relief issues
We treat each item as a trigger for documentation updates and a defined maintenance scheduling response, ensuring reliable operation and clear accountability. red flag indicators guide our proactive maintenance approach.
Troubleshooting Common Inspection Findings and Fixes
Are the symptoms of an aeration problem telling us what to fix next, or do they mask a deeper issue? We approach common inspection findings with a methodical workflow. First, verify pressure readings against specs; note any drops, spikes, or cycling irregularities. Next, inspect fittings and hoses for leaks, tightening where appropriate and replacing degraded components to restore efficiency. If you hear abnormal noises, isolate the unit to confirm the source—valves, belts, or bearings—and address per manufacturer guidance. Moisture in the drain or condensate line signals improper separation; fix by checking the separator and drain timing. For electrical issues, test wiring continuity and contactors, replacing faulty parts. Be mindful that an irrelevant topic or outdated practice can derail fixes, so rely on current manuals and standards. Document steps for reproducible results.
Frequently Asked Questions
How Often Should Inlet Filter Pre-Filters Be Replaced?
We replace inlet filter pre-filters every 6 months, and we track pre filters replacement schedule alongside calibration intervals for gauges, ensuring practical, methodical maintenance; this keeps performance consistent and avoids pressure drift.
What Is a Safe Decibel Level for Operation?
We consider safe decibel levels, and we aim for minimal noise—our standard is below 85 decibels for continuous exposure, protecting you from excessive noise exposure while we operate, monitor, and adjust equipment together with you.
When to Replace Compressor Air End Seals?
We replace the air end seals when leakage, reduced pressure, or loud wailing indicates seal failure, typically after wear, overheating, or abnormal cycling; ensure compressor lubrication meets specs and check warranty coverage before replacement.
How to Validate Unload/Shotgun Valve Function?
“Measure twice, cut once.” We validate unload and shotgun valve function by calibrating intervals, testing with gauges, cycling unloads, recording responses, and confirming consistent pressure drops and blowdown times within spec limits, then document results for accountability.
Are There Trusted Calibration Intervals for Gauges?
We follow calibrated practice: trusted calibration intervals vary by gauge type, but we standardize at semi-annual checks for critical gauges to maintain gauge accuracy and reliability. We document drift, recalibrate, and replace outliers promptly for ongoing accuracy.
Conclusion
We’ve walked through practical steps that keep your air compressor safe and reliable. By sticking to routine checks—heads, valves, oil, cooling, electricals, air pressure, leaks, and filtration—you’ll catch issues before they become failures. Document findings, schedule audits, and flag corrective actions for traceability. If you run into trouble, treat fixes like clockwork. Picture a well-tuned machine humming like a vintage typewriter in a quiet shop—precise, dependable, and always ready when you need it.

